

The Facebook Pixel. Small yet mighty. Invisible yet everywhere. If you’re a business owner and you’re not using the Facebook Pixel, sorry, this article is for you! A powerful analytics tool, the pixel tracks the actions that people take on your website, such as adding items to a cart or making a purchase, to improve your Facebook advertising and targeting.
Like Ads Manager, you can think of the Facebook Pixel as another superpower. Using a small piece of code, the pixel tracks actions people take away from Facebook to help you measure the effectiveness of your Facebook advertising, retarget your ads to specific groups and better understand your target market.
Pretty powerful, huh?
What is the Facebook Pixel?
As I said at the start, the Facebook Pixel is small yet mighty. A snippet of JavaScript code embedded into a website, the pixel links visitors’ onsite behaviour to Facebook user profiles. You can’t actually see the pixel in action on a page, but it’s always there. It’s job is to track visitor activity on your site so you can measure the true effectiveness of your ads back on Facebook, giving you the chance to:
- tweak your advertising,
- retarget your advertising to new prospects,
- measure the effectiveness of your ads,
- define custom audiences for ad targeting,
- create dynamic ads campaigns, and,
- analyse the effectiveness of your website's conversion funnels.
Obviously, as a professional marketer, this information gets me very excited (it truly makes my heart sing!) However, this data is not just for agencies. As a business owner, the Facebook Pixel represents a modern-day goldmine, giving you the key to more sales and more qualified leads.
Are you getting excited now?
Is the Facebook Pixel free?
Unlike running ads across the Facebook ecosystem, installing the Facebook pixel won’t cost you a cent. While advertising on Facebook will cost you money, setting up the Facebook tracking pixel is free. The Facebook pixel can even save you money, helping you get more out of your ads and helping you access more people to target. It really is a modern-day goldmine!
How does the Facebook Pixel work?
The Facebook Pixel works by placing code to track users as they interact with your business both on and off Facebook. When an action occurs on your website (e.g. someone adds an item to their cart), your Facebook Pixel logs it as an event, loading a small library of functions that you can use whenever a website visitor takes a specific action that you want to track.
By linking visitors back to their Facebook account, the Facebook Pixel allows you to retarget them with relevant ads as well as track their actions when they return to your website. This helps you to measure the effectiveness of Facebook ad campaigns, create custom audiences for retargeting, set up dynamic ad campaigns and analyse your website’s conversion funnels.
Facebook Pixel retargeting
Using the Facebook Pixel, you can show targeted Facebook ads to anyone who’s previously been to your website, even if they haven’t seen your brand before on Facebook. Called retargeting, this strategy puts your brand top of mind and helps you move people further down your sales funnel.
Here’s an example to show you how it works. Someone visits your site, adds an item to their cart but leaves without completing their purchase. Wouldn't you love to be able to contact them again to remind them that their item is still there and get them to buy? Maybe you could throw in a small discount to get them over the line?
By installing your pixel, whenever a user adds something to their cart, the pixel will track this information, allowing you to follow up if they don’t complete their purchase. Using event data from the pixel, you can retarget these visitors back on Facebook and serve them an ad to encourage them to return to your site to complete their purchase.
Like I keep saying, the pixel is a source of marketing gold for every business owner.
Facebook conversion tracking
You can use the Facebook pixel to track your website visitors' actions. Called conversion tracking, pixel data can be used to analyse the effectiveness of your conversion funnel and calculate the all-important return on investment for your Facebook advertising.
You can also use tracked conversions to define custom audiences to optimise your ads and design dynamic ad campaigns. Once you have defined custom audiences, Facebook can use them to identify other Facebook users who are likely to convert and target them with your ads as well (lookalike audiences).
There are three ways to track conversions with the pixel:
- standard events - which are visitor actions defined by Facebook
- custom events - which are visitor action that you set up
- custom conversions - which are visitor actions tracked automatically by parsing set URLs
Standard events are visitor actions defined by Facebook covering the following 17 events:
- Add payment info
- Add to cart
- Add to wishlist
- Complete registration
- Contact
- Customise Product
- Donate
- Find Location
- Initiate checkout
- Lead
- Purchase
- Schedule
- Search
- Start trial
- Submit application
- Subscribe
- View content
Custom events are specific visitor actions that you can define beyond the 17 standard events. So, if there was something else you wanted to measure, you can use a custom event to trigger your pixel to start tracking it for you.
Custom conversions allow you to access more specific data by creating rules for events or URLs. For example, you can track views of a dedicated thank you page to see how many people are taking up your offer and measure conversions.
Conversion tracking in Facebook is almost limitless thanks to the Facebook Pixel (although there are changes on the horizon with the upcoming Apple iOS 14 update). If you have any questions about the different actions you can track, get in touch as we’d love to help!
How to create a Facebook Pixel
It’s easy to create a Facebook Pixel. All you need is a Business Manager account to get started. While you can only have one pixel connected to one Facebook business page at a time, Business Manager allows you to create up to 100 pixels for different pages and websites. This is handy if you have more than one website for your business or if you get an agency, like Poppy Seed Media, to manage your ads for you.
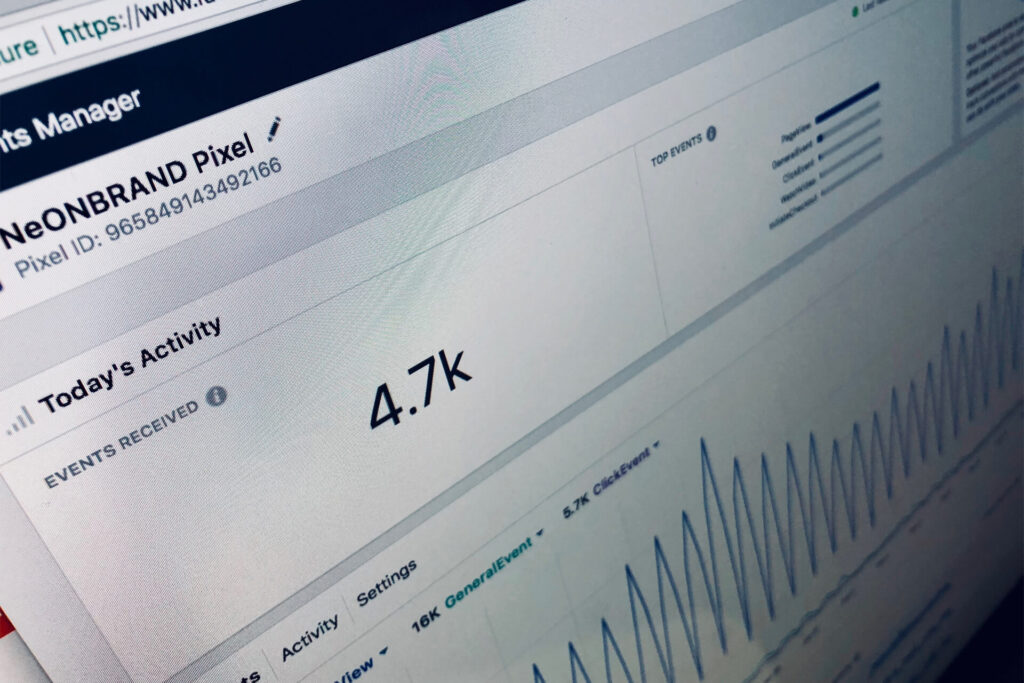
You can access pixel analytics in Business Manager but Ads Manager is where the real pixel gold is found. If you haven’t set up Ads Manager, the analytics provided by Business Manager is fine. But if you want to get deep into your ads performance (why wouldn’t you?), you want access to Ads Manager.
Create a Facebook Pixel in Business Manager
Creating a Facebook Pixel in Business Manager is quite simple. Just check that you're an admin on the Business Manager account that you'd like to use first else (or you won’t be able to create your pixel).
1. Go to Business settings in Business Manager and select your business.

2. Click Data sources and select Pixels.

3. Click the + Add button and enter a name for your pixel. Optional: Enter your website URL. 

4. Click Continue.
To install your pixel on your website, click Set up the pixel now. We’ll guide you through this shortly.
Connecting your Facebook Pixel in Ads Manager
To mine the gold from your pixel, you’ll need to connect your Facebook Pixel to Ads Manager and your Ad Account(s). You can connect your Facebook Pixel with multiple Facebook Ad Accounts for performance tracking but first you’ll need to assign your Facebook Pixel to your Ad Accounts:
- Go to your Business Manager and select Data Sources then Pixels (as shown above)
- Select the Pixel that you’d like to assign your Ad Account to.

3. Check if your personal account has been added to manage the pixel. If not, click Add People and select who needs access. Turn on Manage Pixel to create, edit and view pixels.
 4. Click Add Assets and select the Ad Accounts to assign your Facebook Pixel to. Click Add and Done.

How to set up a Facebook Pixel
Once you've created your pixel, you're ready to put the Facebook pixel code on your website. Setting up a Facebook Pixel on your website might seem daunting, especially as it involves inserting code. However, you don’t need to be an IT expert to get started. There are 3 main ways you can set up a Facebook Pixel on a website, including WordPress and Shopify sites.
- Manually add the code to your website in the head section
- Use Facebook’s partner integration tool
- Email instructions to a third-party who can install the code for you

As WordPress and Shopify are the most common platforms for business owners, we’ll take you through how you can set up your pixel on each platform.
Facebook Pixel for WordPress
Manual Process
- Go to Events Manager.
- Select the pixel you want to set up.
- Click Continue pixel setup.
- Select Install code manually.
- Copy the pixel base code.
- Find the header of your website or locate the header template in your CMS or web platform.
- Paste the base code at the bottom of the header section, just above the closing head tag.
- Click Continue.
Partner Integration
- Go to Events Manager.
- Select the pixel you want to set up.
- Click Continue pixel setup.
- Click Use a partner.
- Select WordPress from the list.
- Follow the on-screen setup instructions for WordPress.
Check out the Facebook WordPress help page for more detailed information about installing your pixel. You can also give Poppy Seed Media a call if you’re stuck.
Facebook Pixel for Shopify
- Log in to your Shopify account and install the Facebook channel to connect Facebook to Shopify.
- In your Shopify admin, click Facebook in the Sales channels section.
- Click Settings, and then click Data sharing settings.
- In the Customer data-sharing section, click the Enable data-sharing toggle.
- In the Choose data-sharing level section select Standard, Enhanced, or Maximum.
- Select your pixel from the list.
- Click Confirm.
Got questions about installing your pixel in Shopify? The Facebook Shopify help page provides more detailed information and you can always get in touch with us for advice too.
How to set up Facebook Pixel events
After you’ve successfully created and installed your pixel, you’ll need to set up events for conversion tracking and aggregated event management. The easiest way to do this is to use Facebook’s event setup tool. Note: you can only use this tool to set up standard events - it can’t be used to create custom events or conversions.
- Sign in to your Ads Manager account.
- Select Events Manager in the main menu.
- Select the pixel that you'd like to use.
- Click Settings.
- Select Open event setup tool under Event setup.
- Enter your URL and click Open website.
- Click Review by each suggested event and then select Confirm or Dismiss.
- To add events that don't appear, navigate to the buttons or web pages you want to track on your site. Select Track new button or Track a URL and follow the on-screen instructions.
- Select an event.
- Set up parameters for your event.
- Click Finish.
How to test your Facebook Pixel
As the Facebook Pixel is literally invisible, you really want to take the time to test that it’s working before you pour money into a new Facebook ad campaign. So, the last step before you start mining all that gold is to test that the pixel is doing its job. That’s where a tool like the Facebook Pixel Helper comes in.
A Chrome plugin, the Facebook Pixel Helper tests if there’s a pixel installed on your site, checks for errors and confirms the events that your pixel is receiving. It’s a quick and easy way to ensure your pixel is set up correctly and logging the events that matter to your business.
Go to Facebook for more detailed information about this handy pixel plugin.
Help with all your Facebook marketing needs
While each step in creating and installing the Facebook Pixel is reasonably straightforward, you might prefer to outsource the process or just need a bit of support along the way (it’s completely understandable!) That’s why Poppy Seed Media is here to help.
Experts in all things Facebook marketing (including Facebook ads, Business Manager, Ads Manager and your new superpower, the Facebook Pixel), get in touch with our team so we can help you mine all that gold and supercharge your business!
Author Bio
 Michelle Trimble is a degree qualified marketing specialist who is passionate about breaking down the barriers business owners face when it comes to digital marketing!
After nearly 10 years working in the industry, Michelle decided to start Poppy Seed Media with the mission to provide more accessible marketing services.
Every business has the right to incredible marketing!
Michelle has provided marketing training to hundreds of individuals, working with businesses around the world to improve their overall strategies. Outside of the working world, Michelle is a mum to three young boys and loves any opportunity to get outside and enjoy the fresh air.
If you would like to book a free discover session with Michelle, please reach out.